Shop Our Peg Rail
If you are a Howlett & Co follower, you know that we recently completed a full renovation of our bathroom. Like most DIY renovation projects, there is a lot of momentum in the beginning but often once the major milestones are met, you move on to the next project without finishing the first. That’s where we’ve landed with our bathroom. We’ve been wanting to do a big reveal for you all but have been waiting until we could add the lingering finishing touches. This month, we finally got around to installing our pegs and are excited to share the result with you. We will walk you through the installation and give you all the details on how we styled them up. Let’s get to it.
Time For Pegs
Our original intent was to make the pegs ourselves, rather than buying an existing product. Afterall, we did custom mill all of the paneling ourselves so what was a few pegs? We thought it would be great to have our own unique peg design and profile. Harking back to the multiple ongoing project theme mentioned earlier, we decided our time was better spent working on our custom living room shelf design and kitchen details rather than making a custom peg.
“Pegs are remarkably cheap so it was a no brainer to just buy an off-the-shelf product. ”
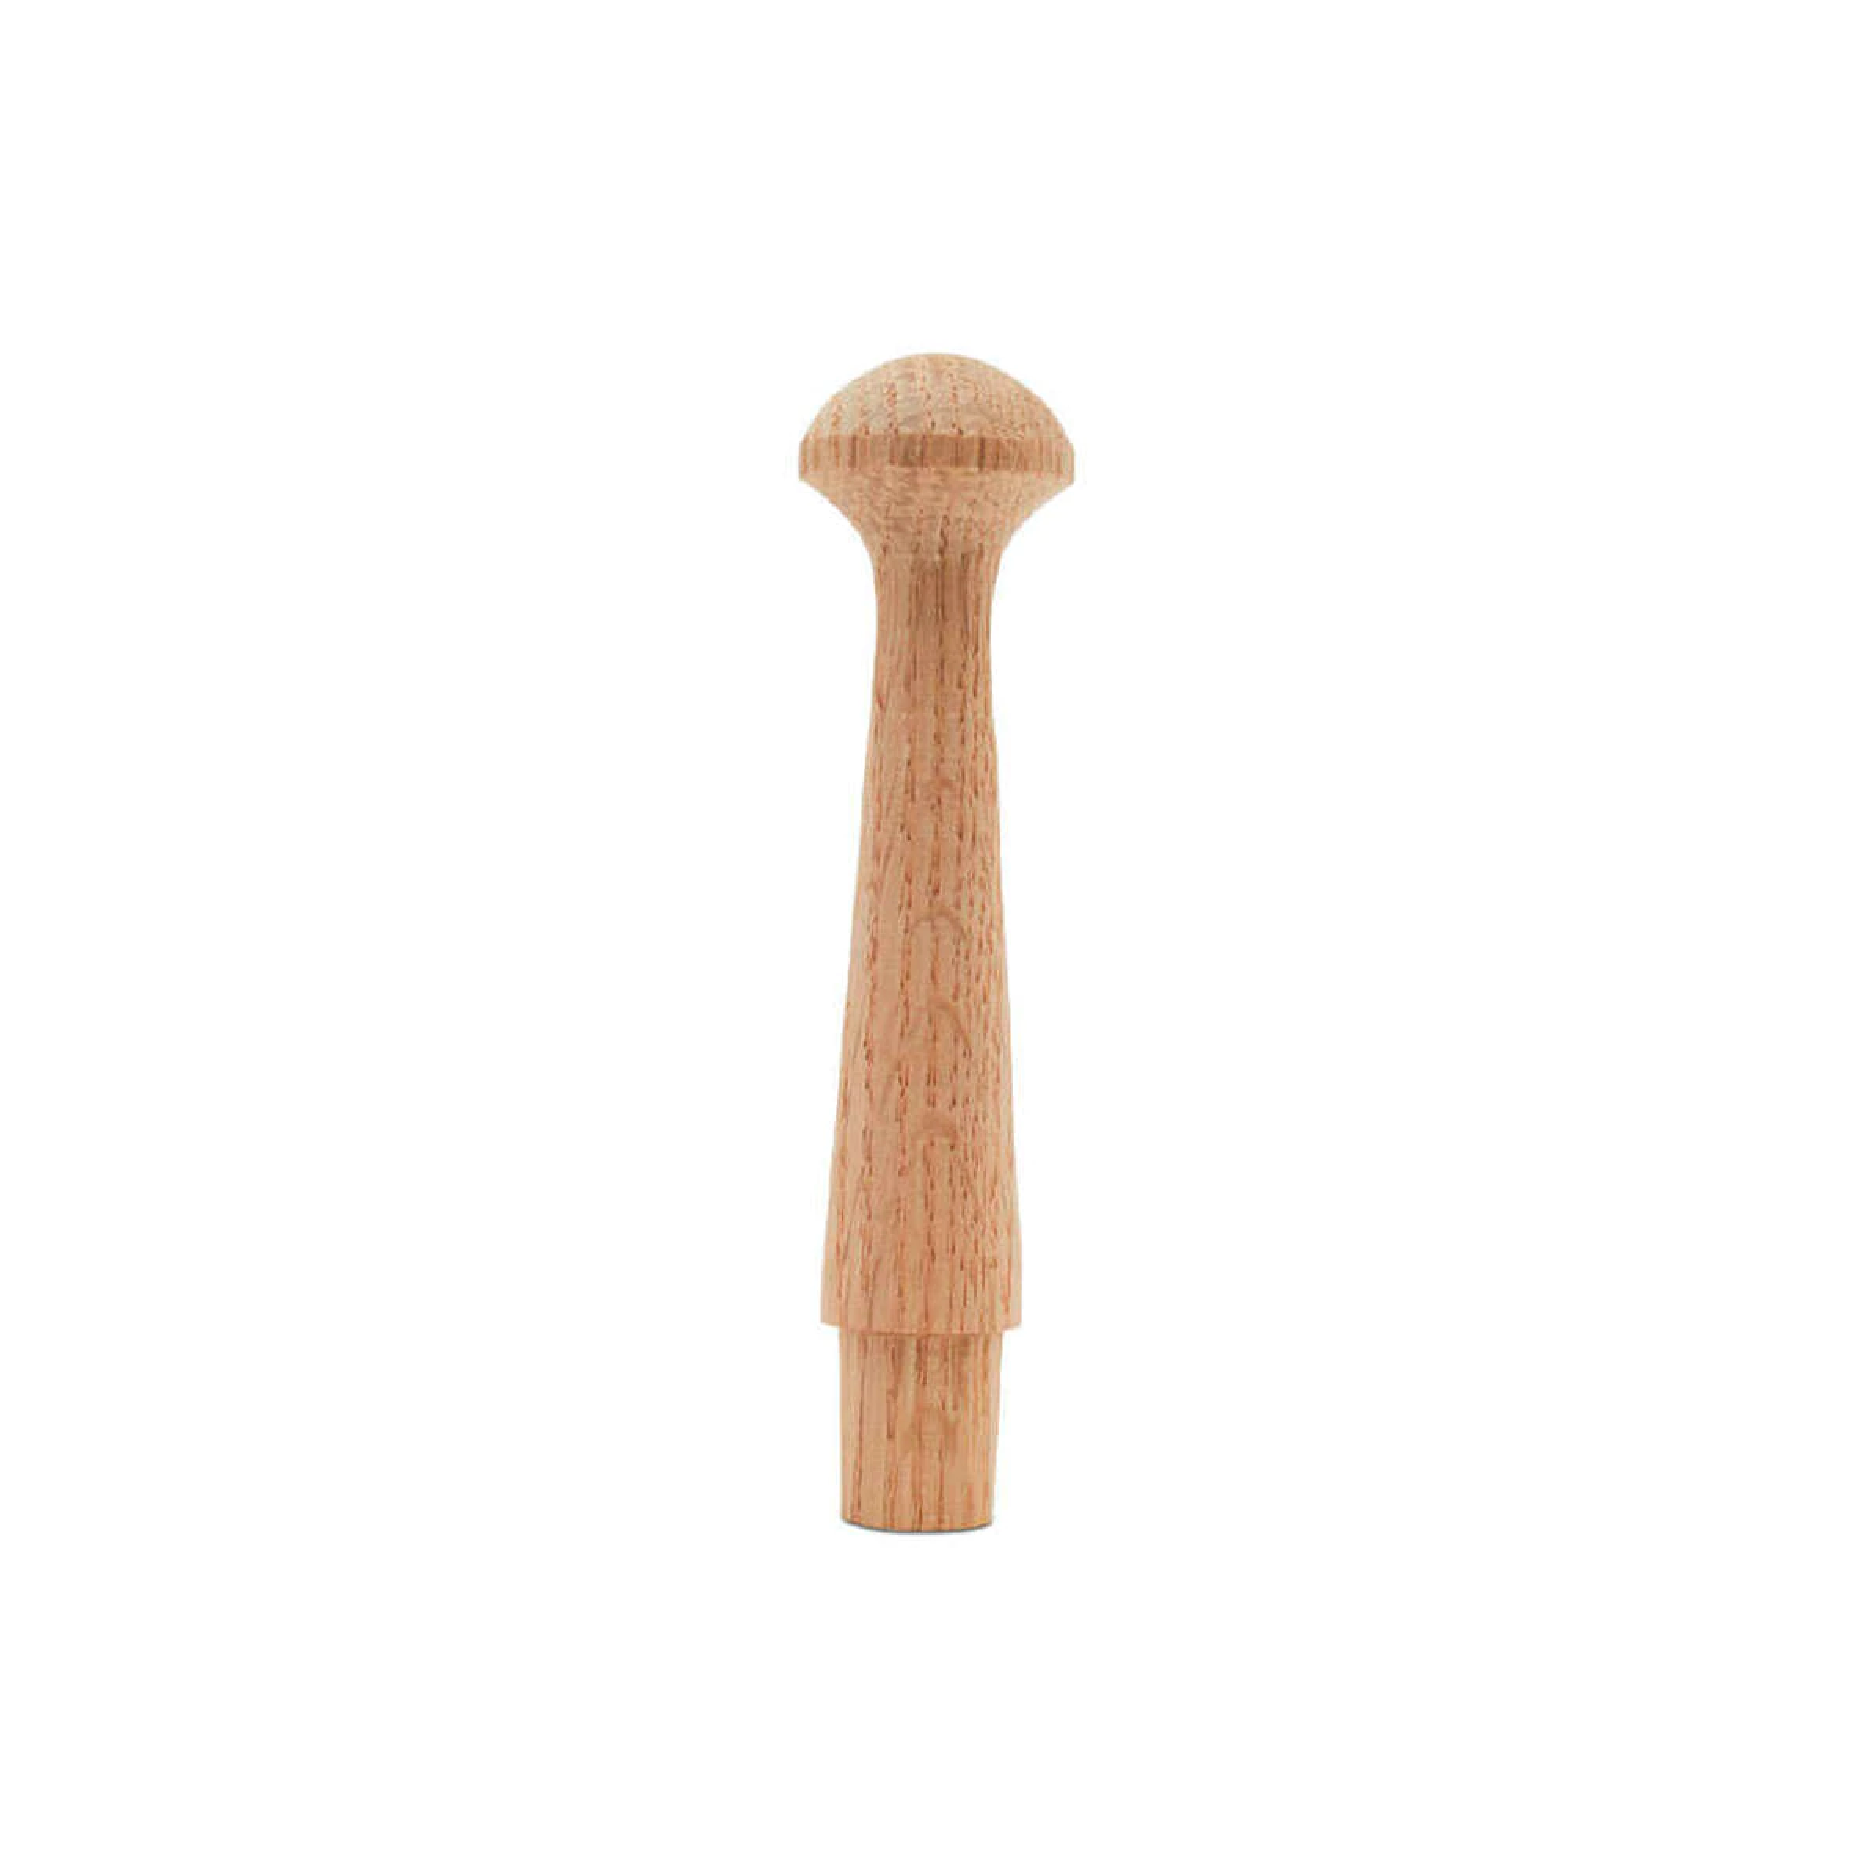
We found this source online and bought 2 different types so that we could decide which one we like better in person. Between the 3-1/2” Oak Shaker Peg and the 2-7/16” Shaker Peg, we felt the oak option was a better scale and seemed more sturdy. Ever the goldilocks, we decided to chop down the length of the peg by about a ½”. Once that was set, we could drill the holes, paint the pegs, and use a little wood glue to secure them in place.
All The Peg Inspiration
Once we had the pegs installed, it was time to style them up. We started with a deep dive into Pinterest, collecting all our favorite peg styling images. Next, we made a list of potential items (both functional and decorative) we wanted to hang on our new peg wall. Some of the items we already owned, some we needed to buy new, and the rest would be scavenged either from Owen’s mother’s vast collection of vintage objects or other local antique shops.
Shop Our Style
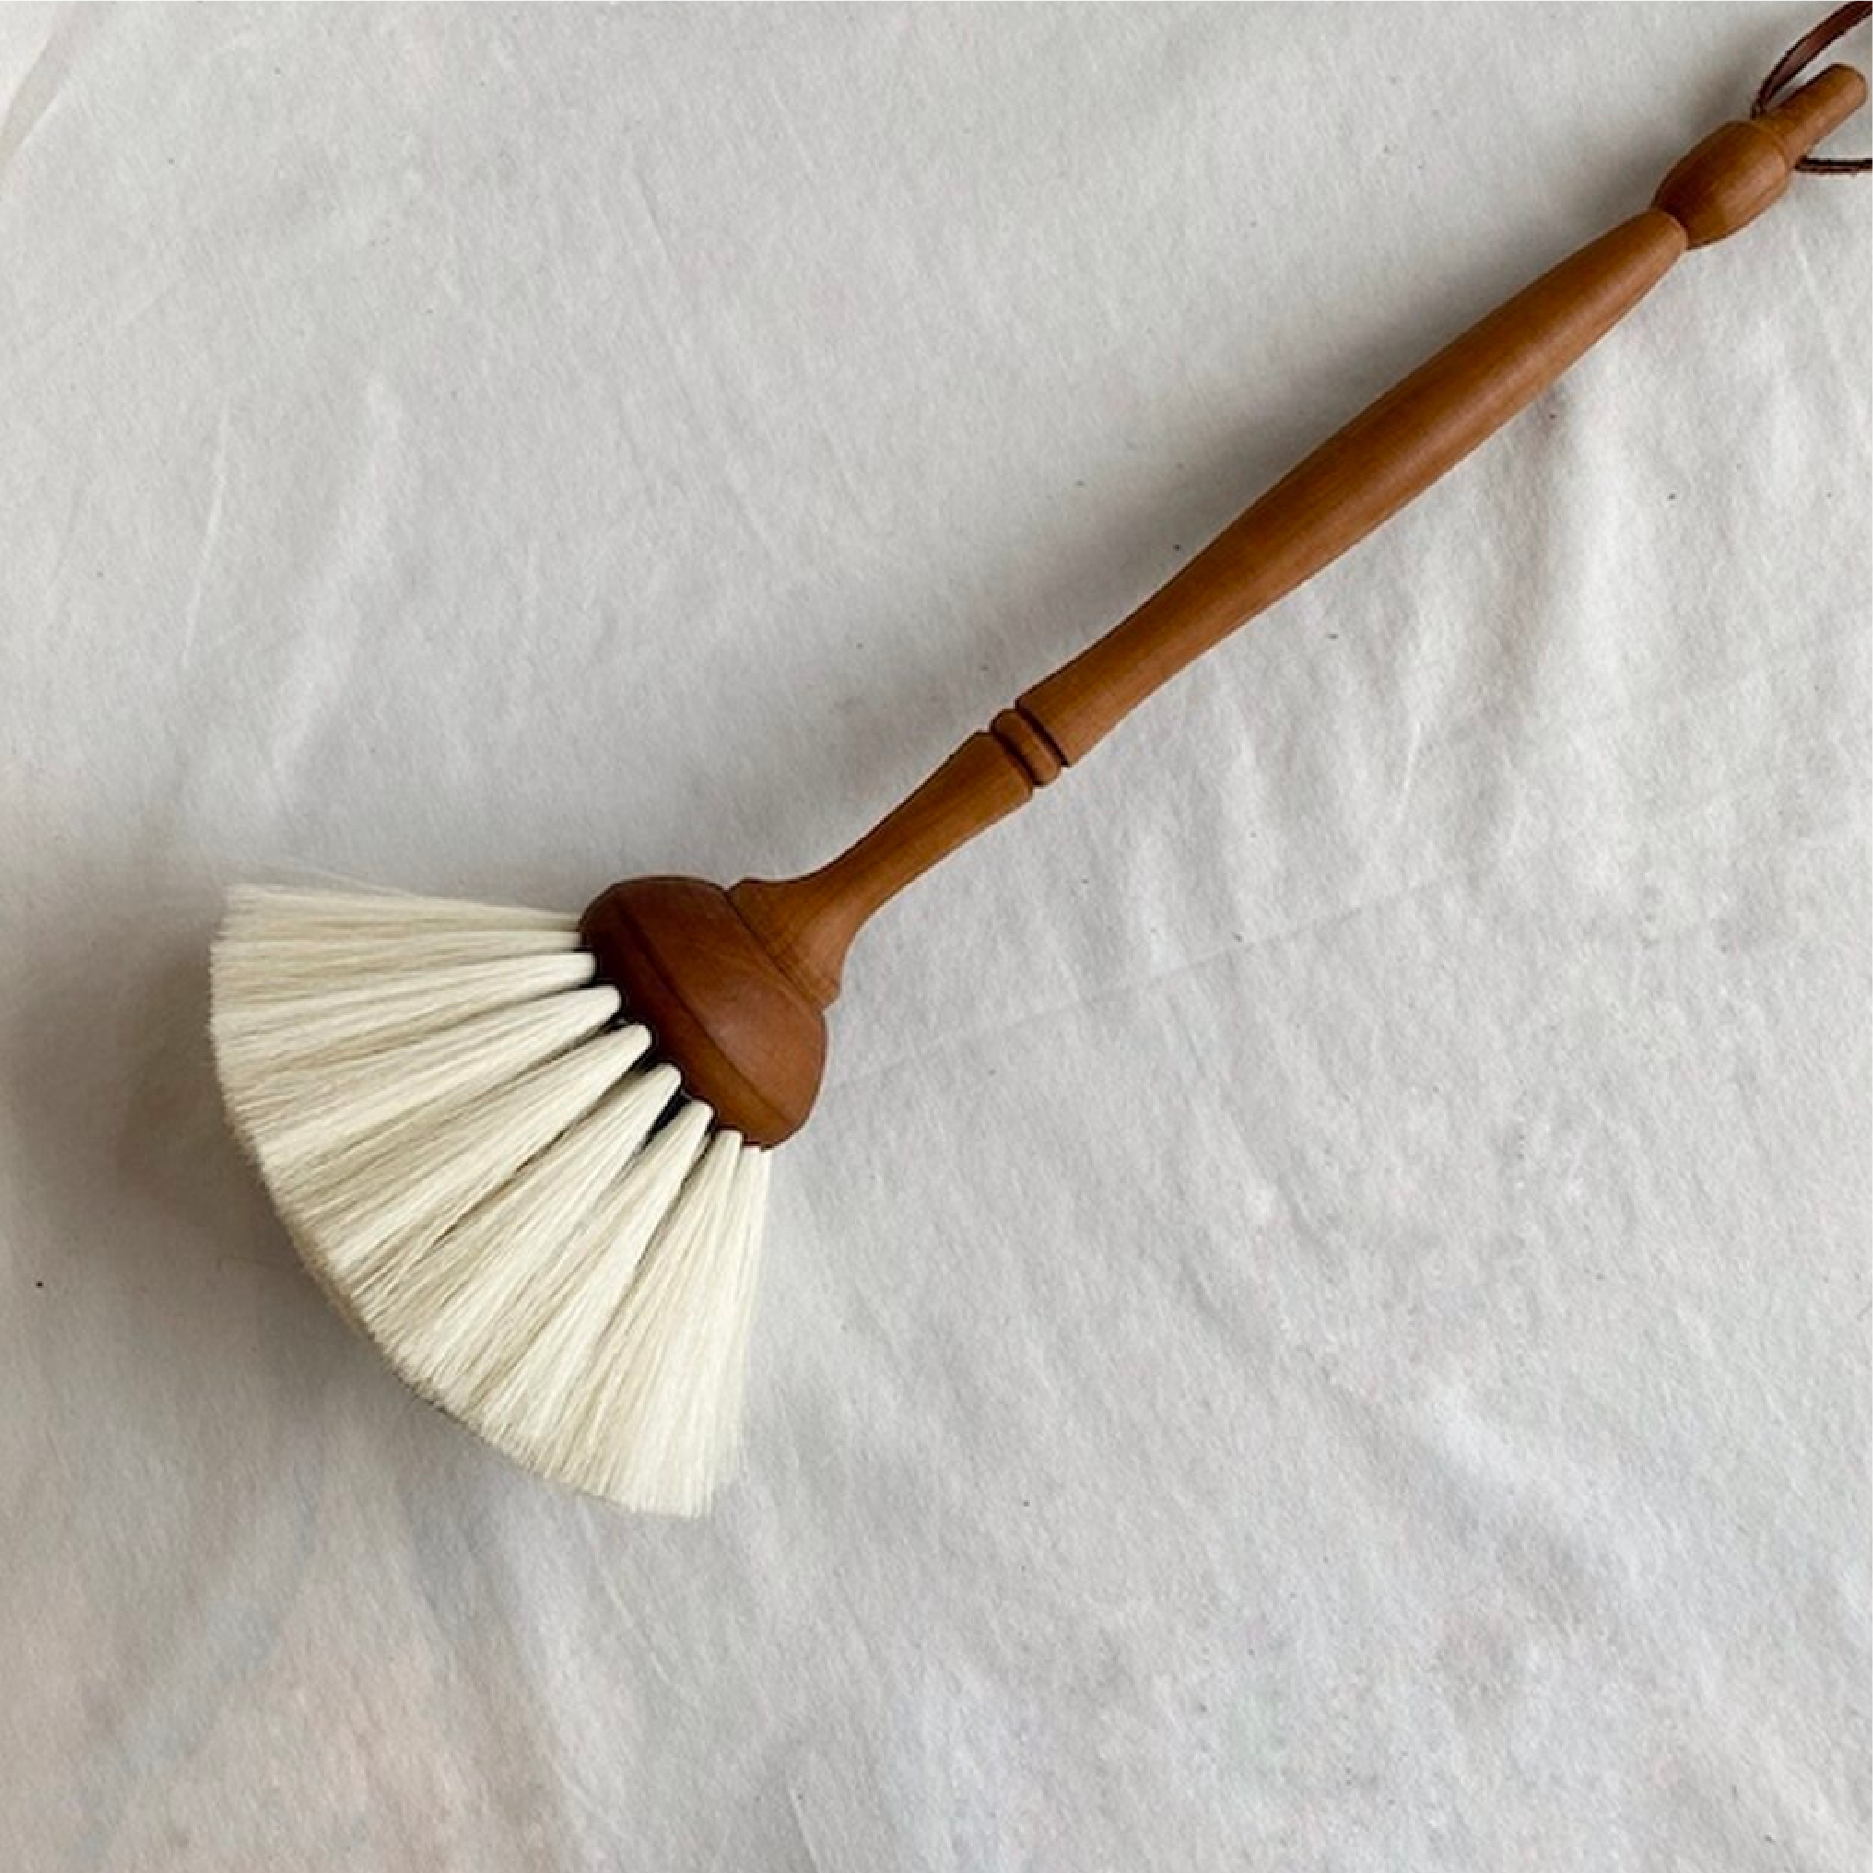
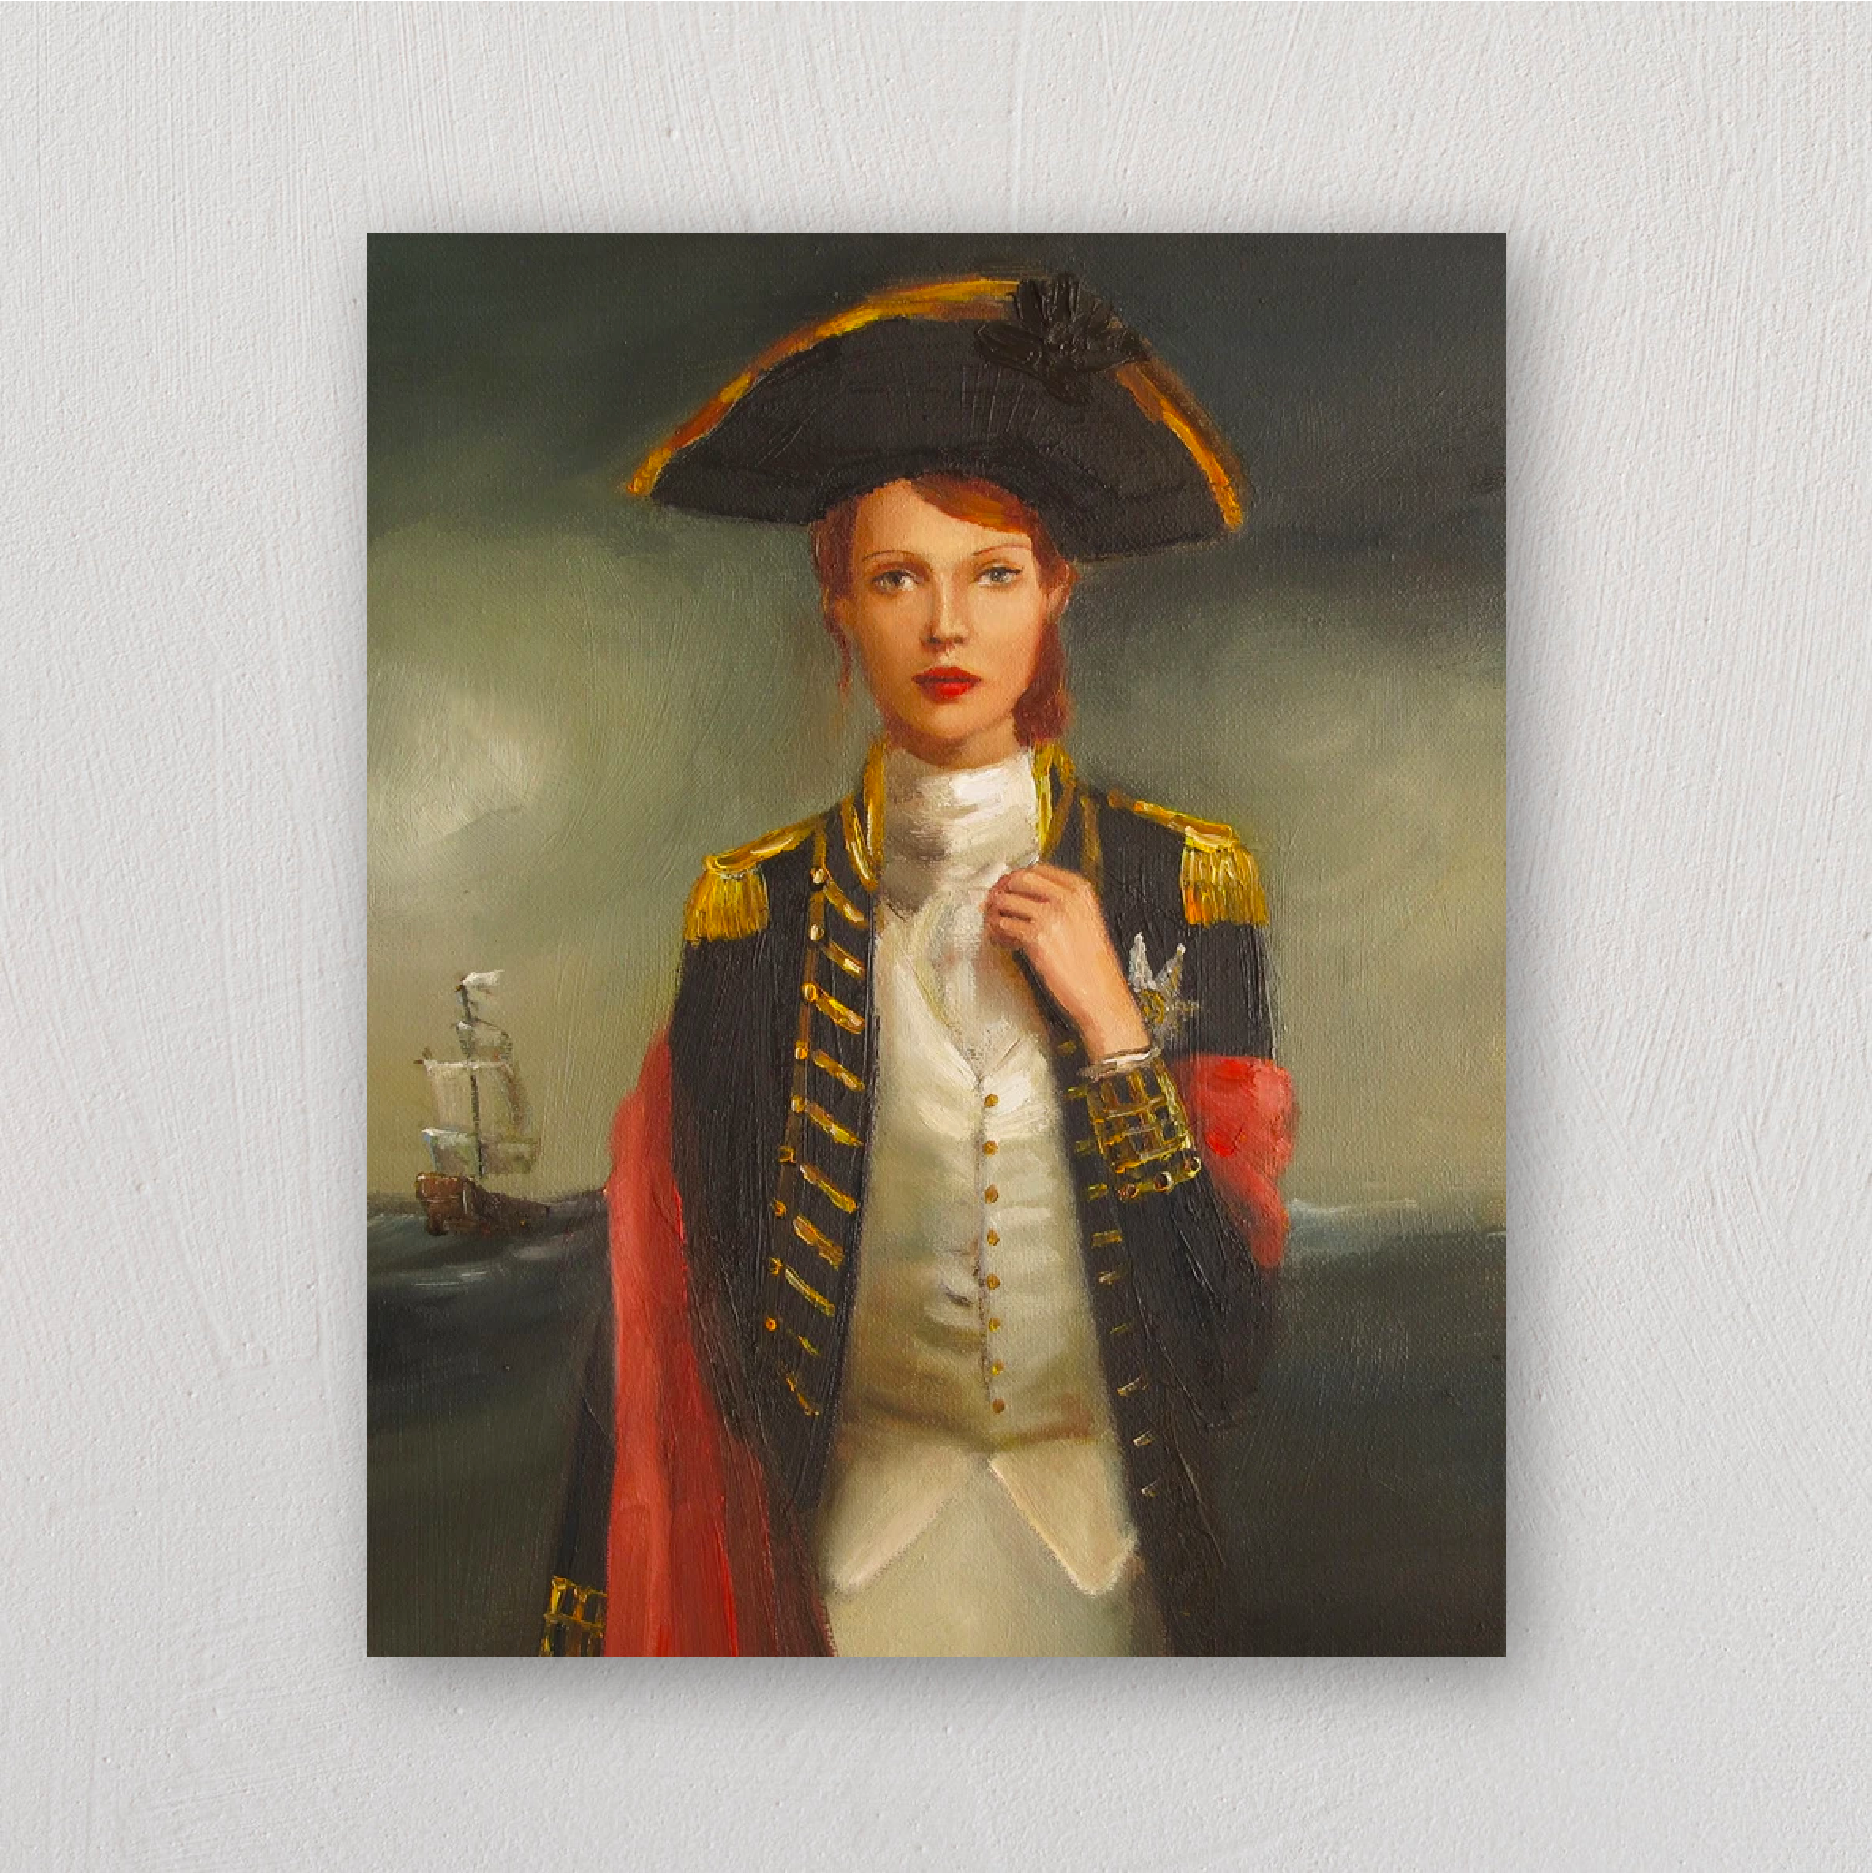
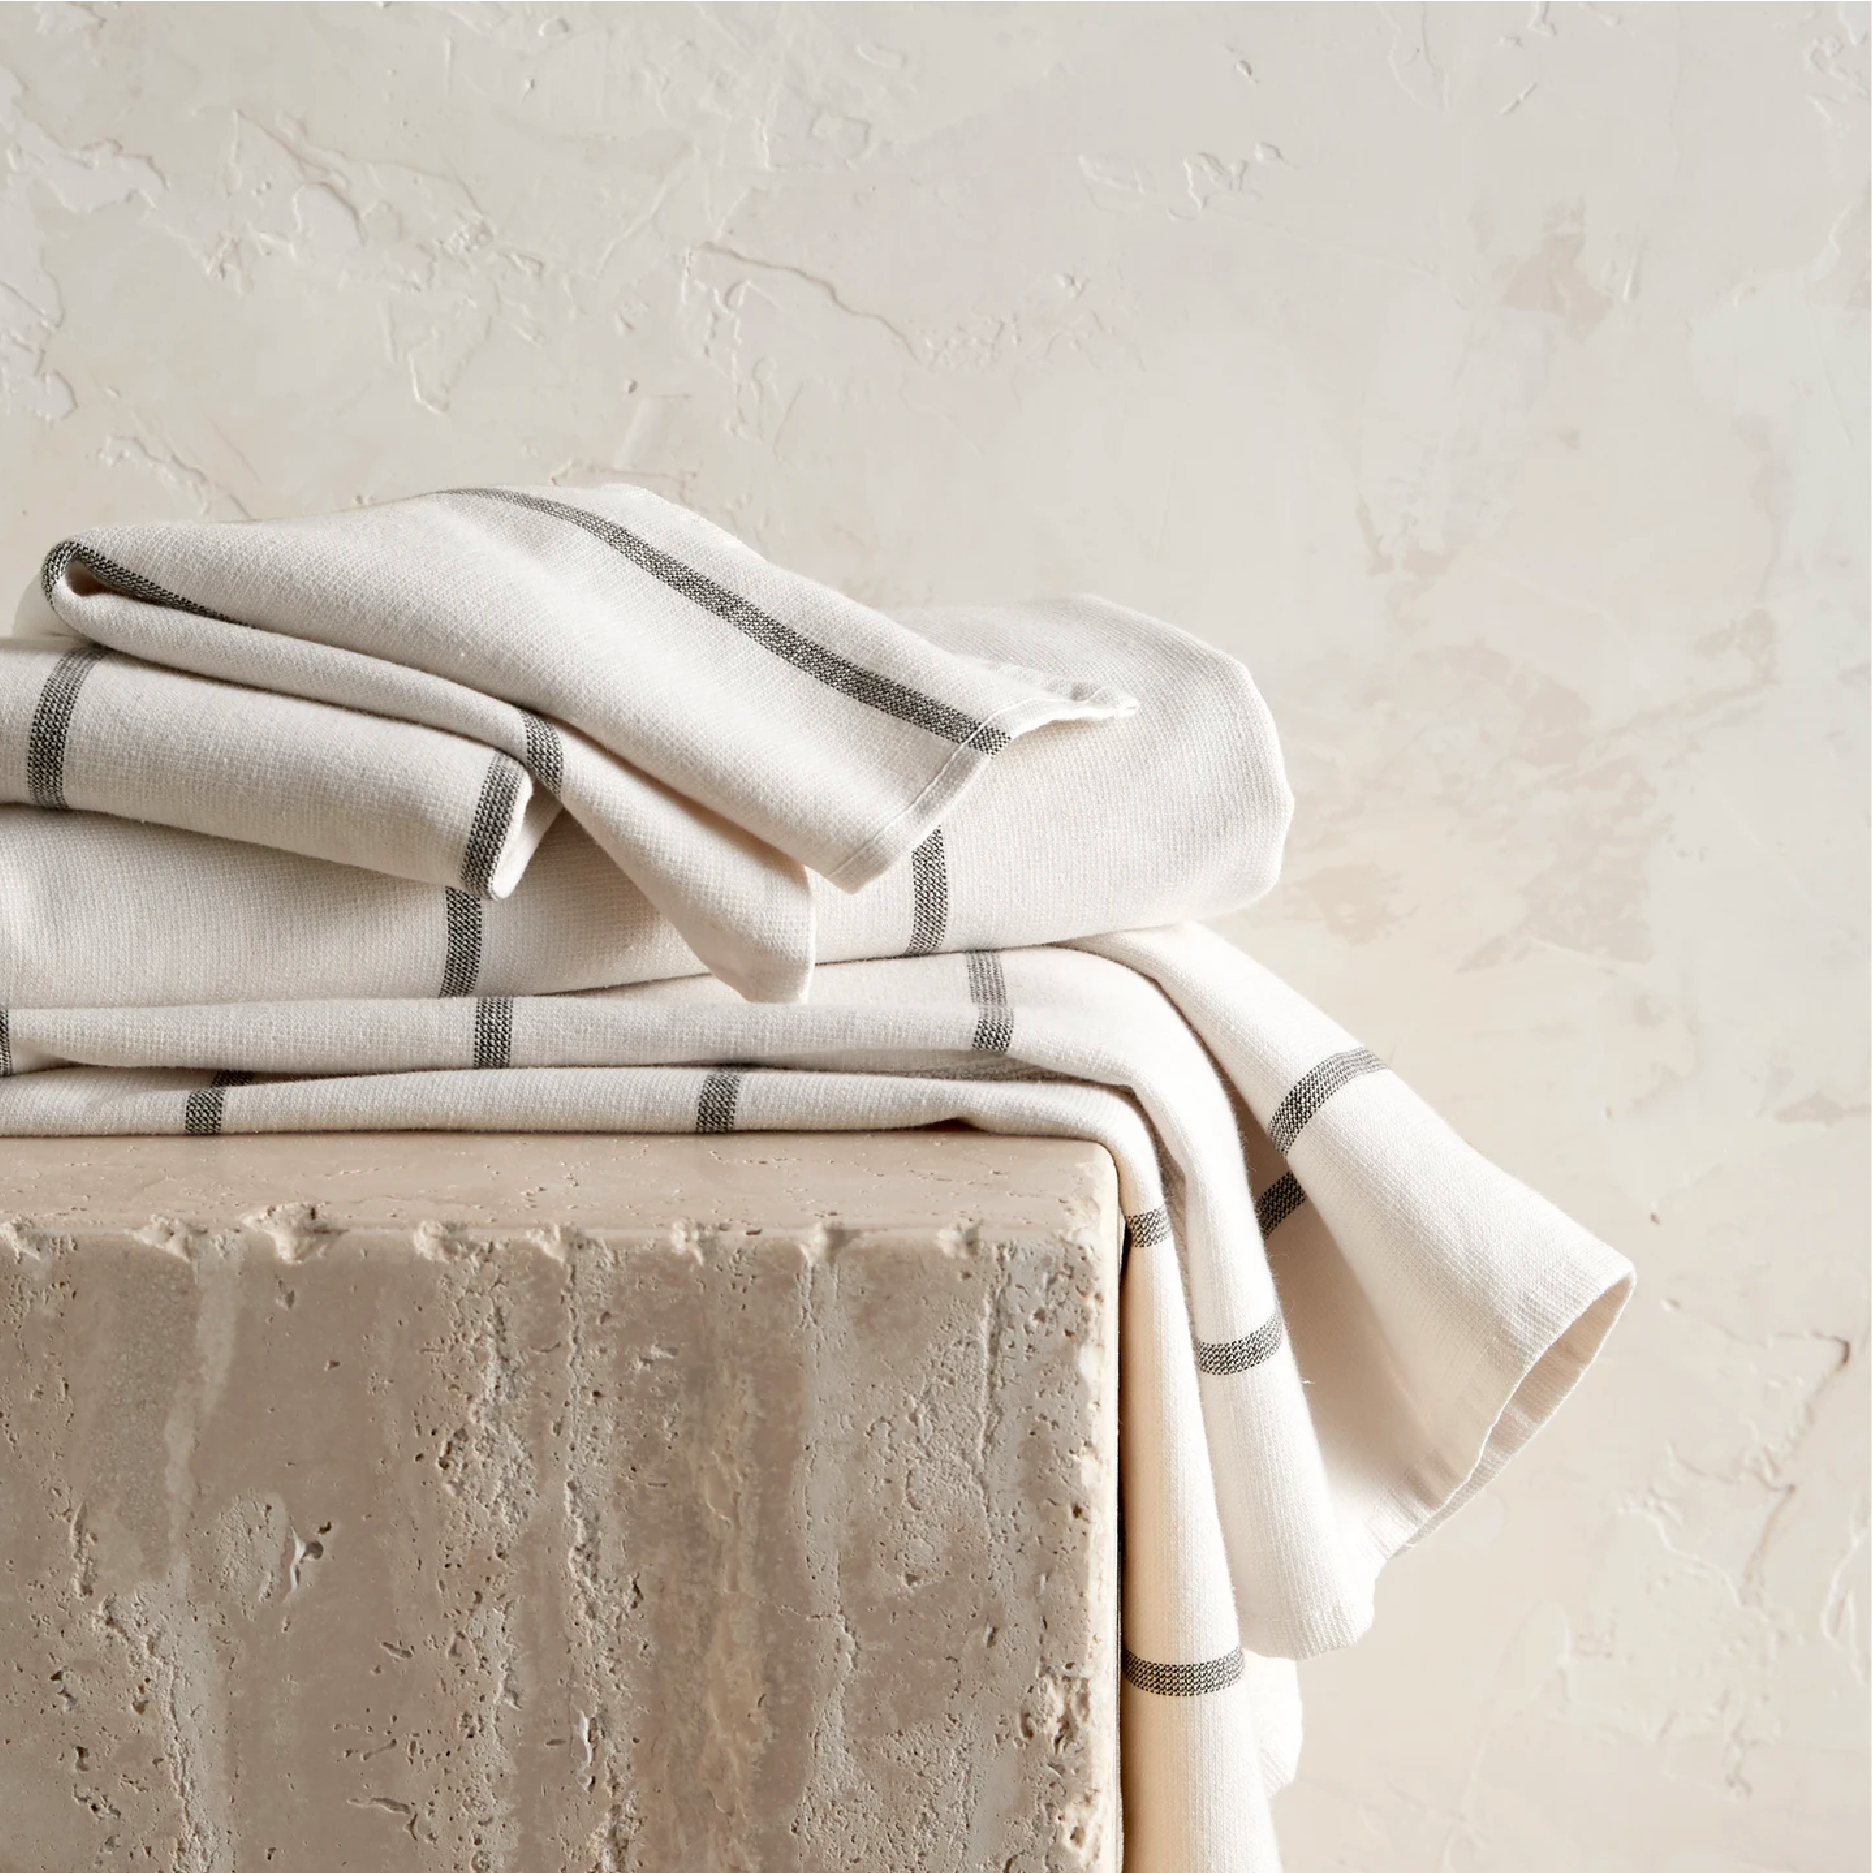
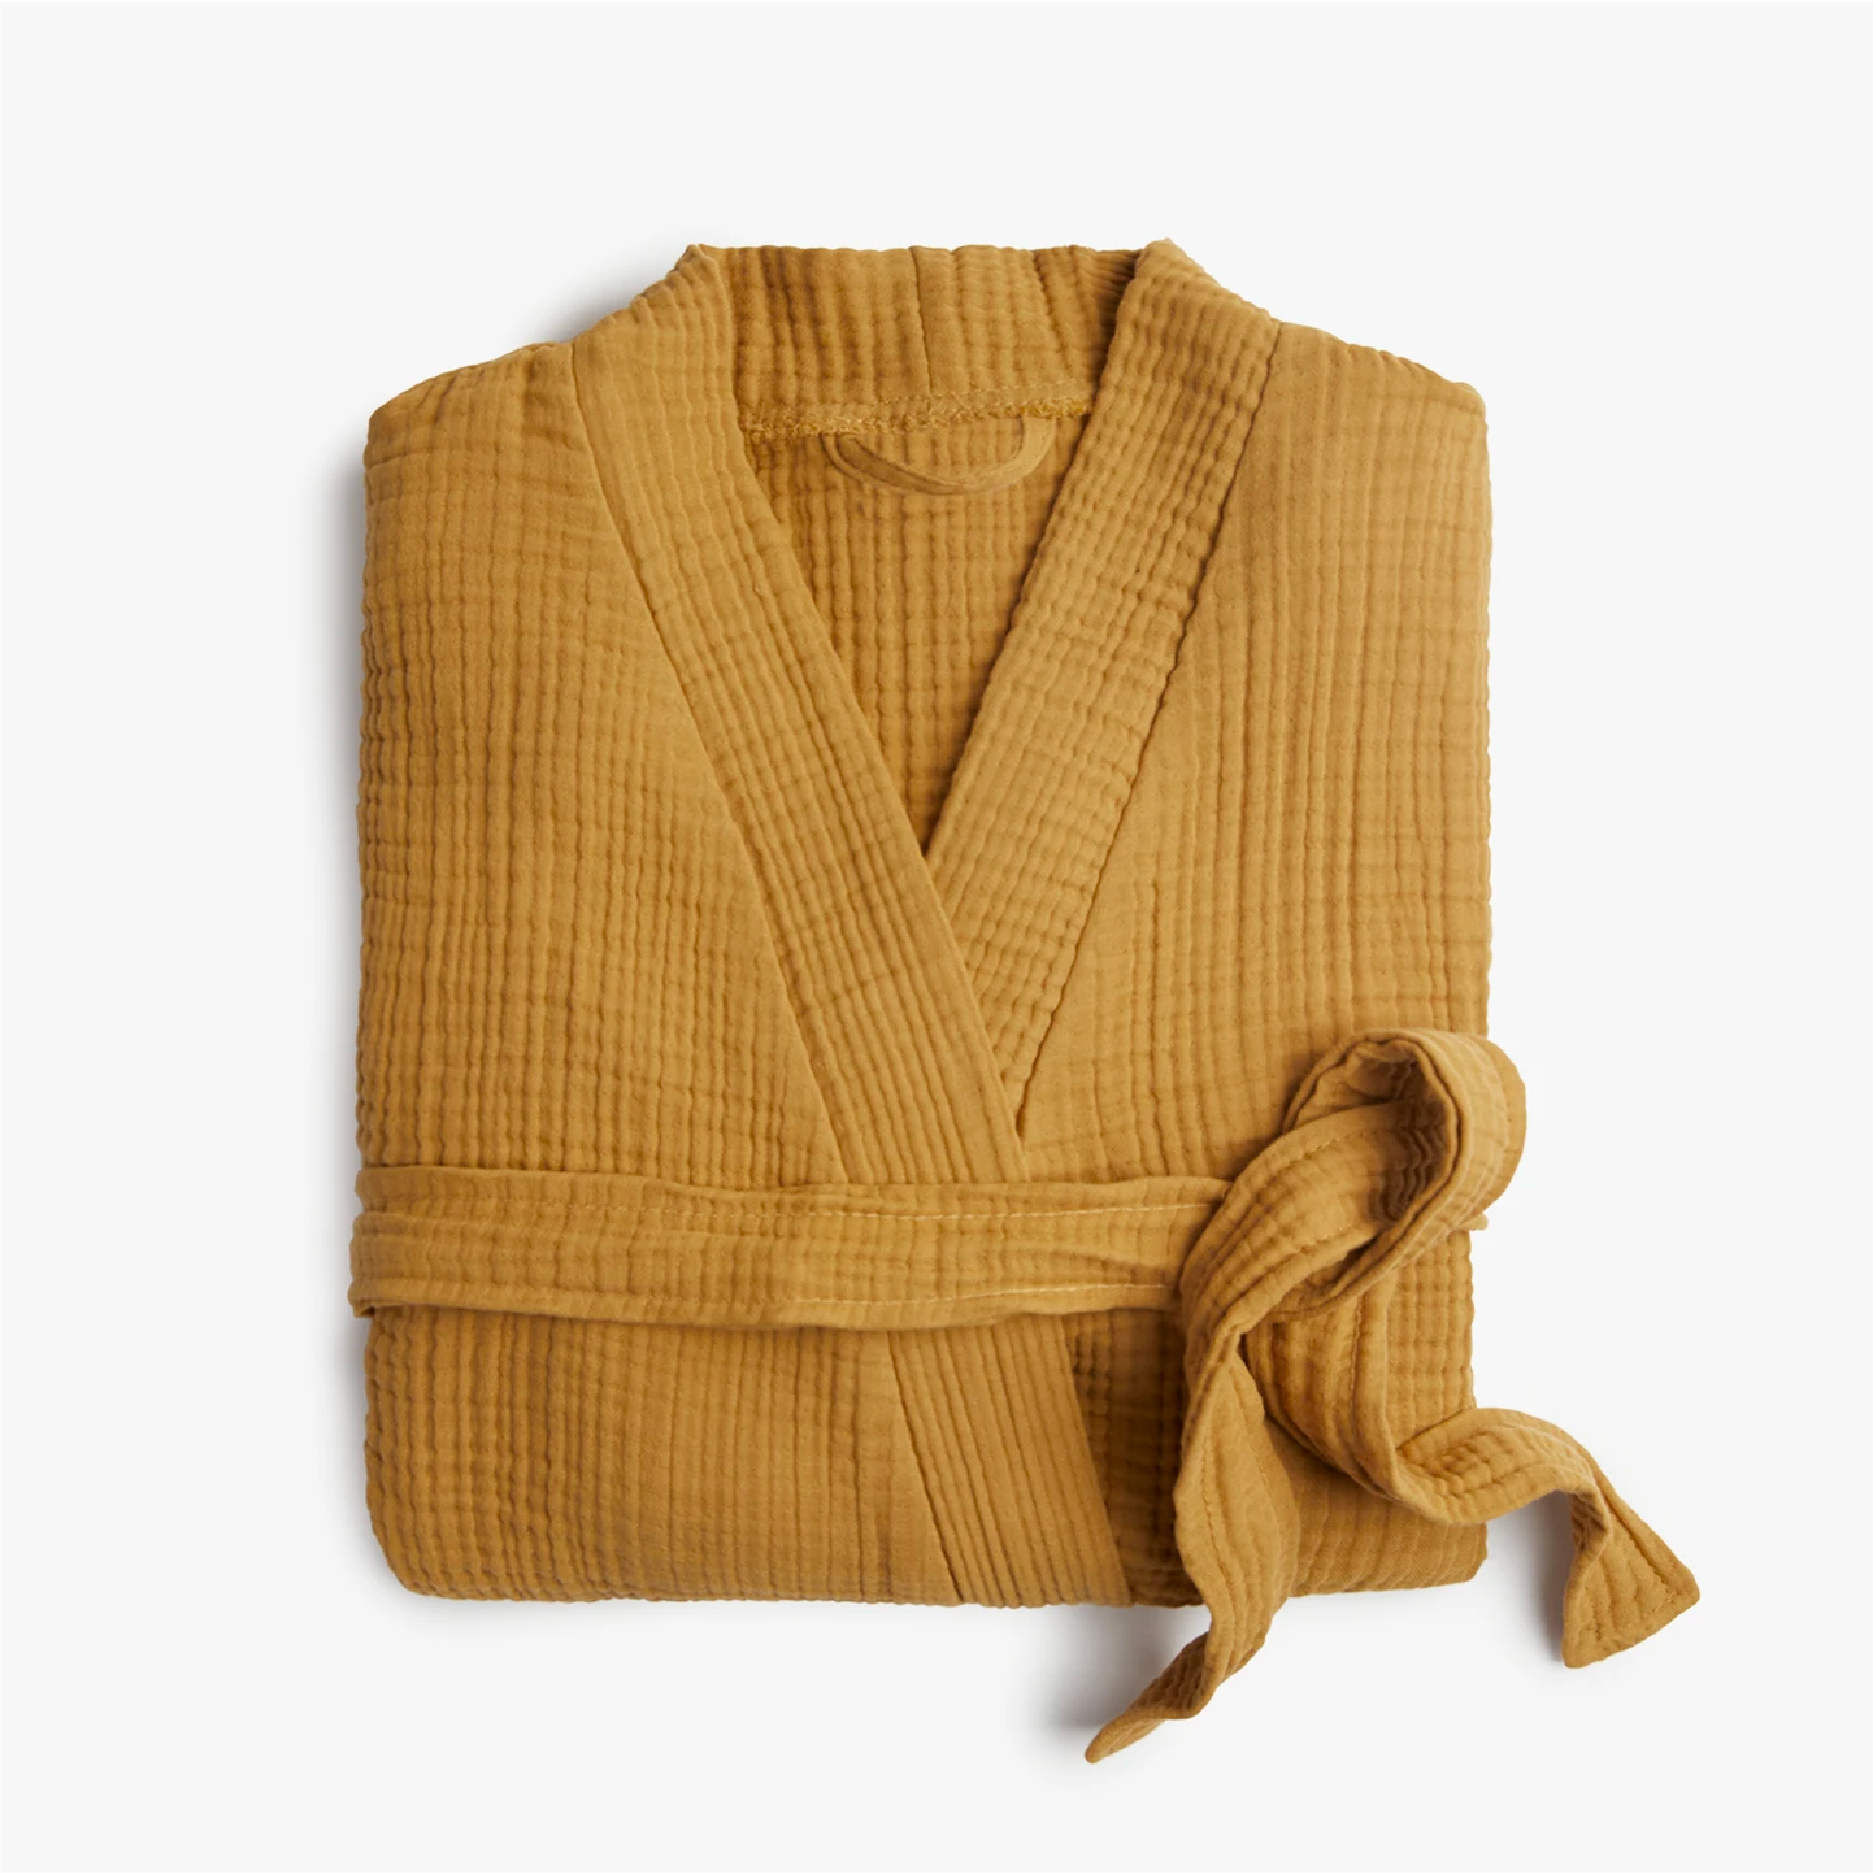
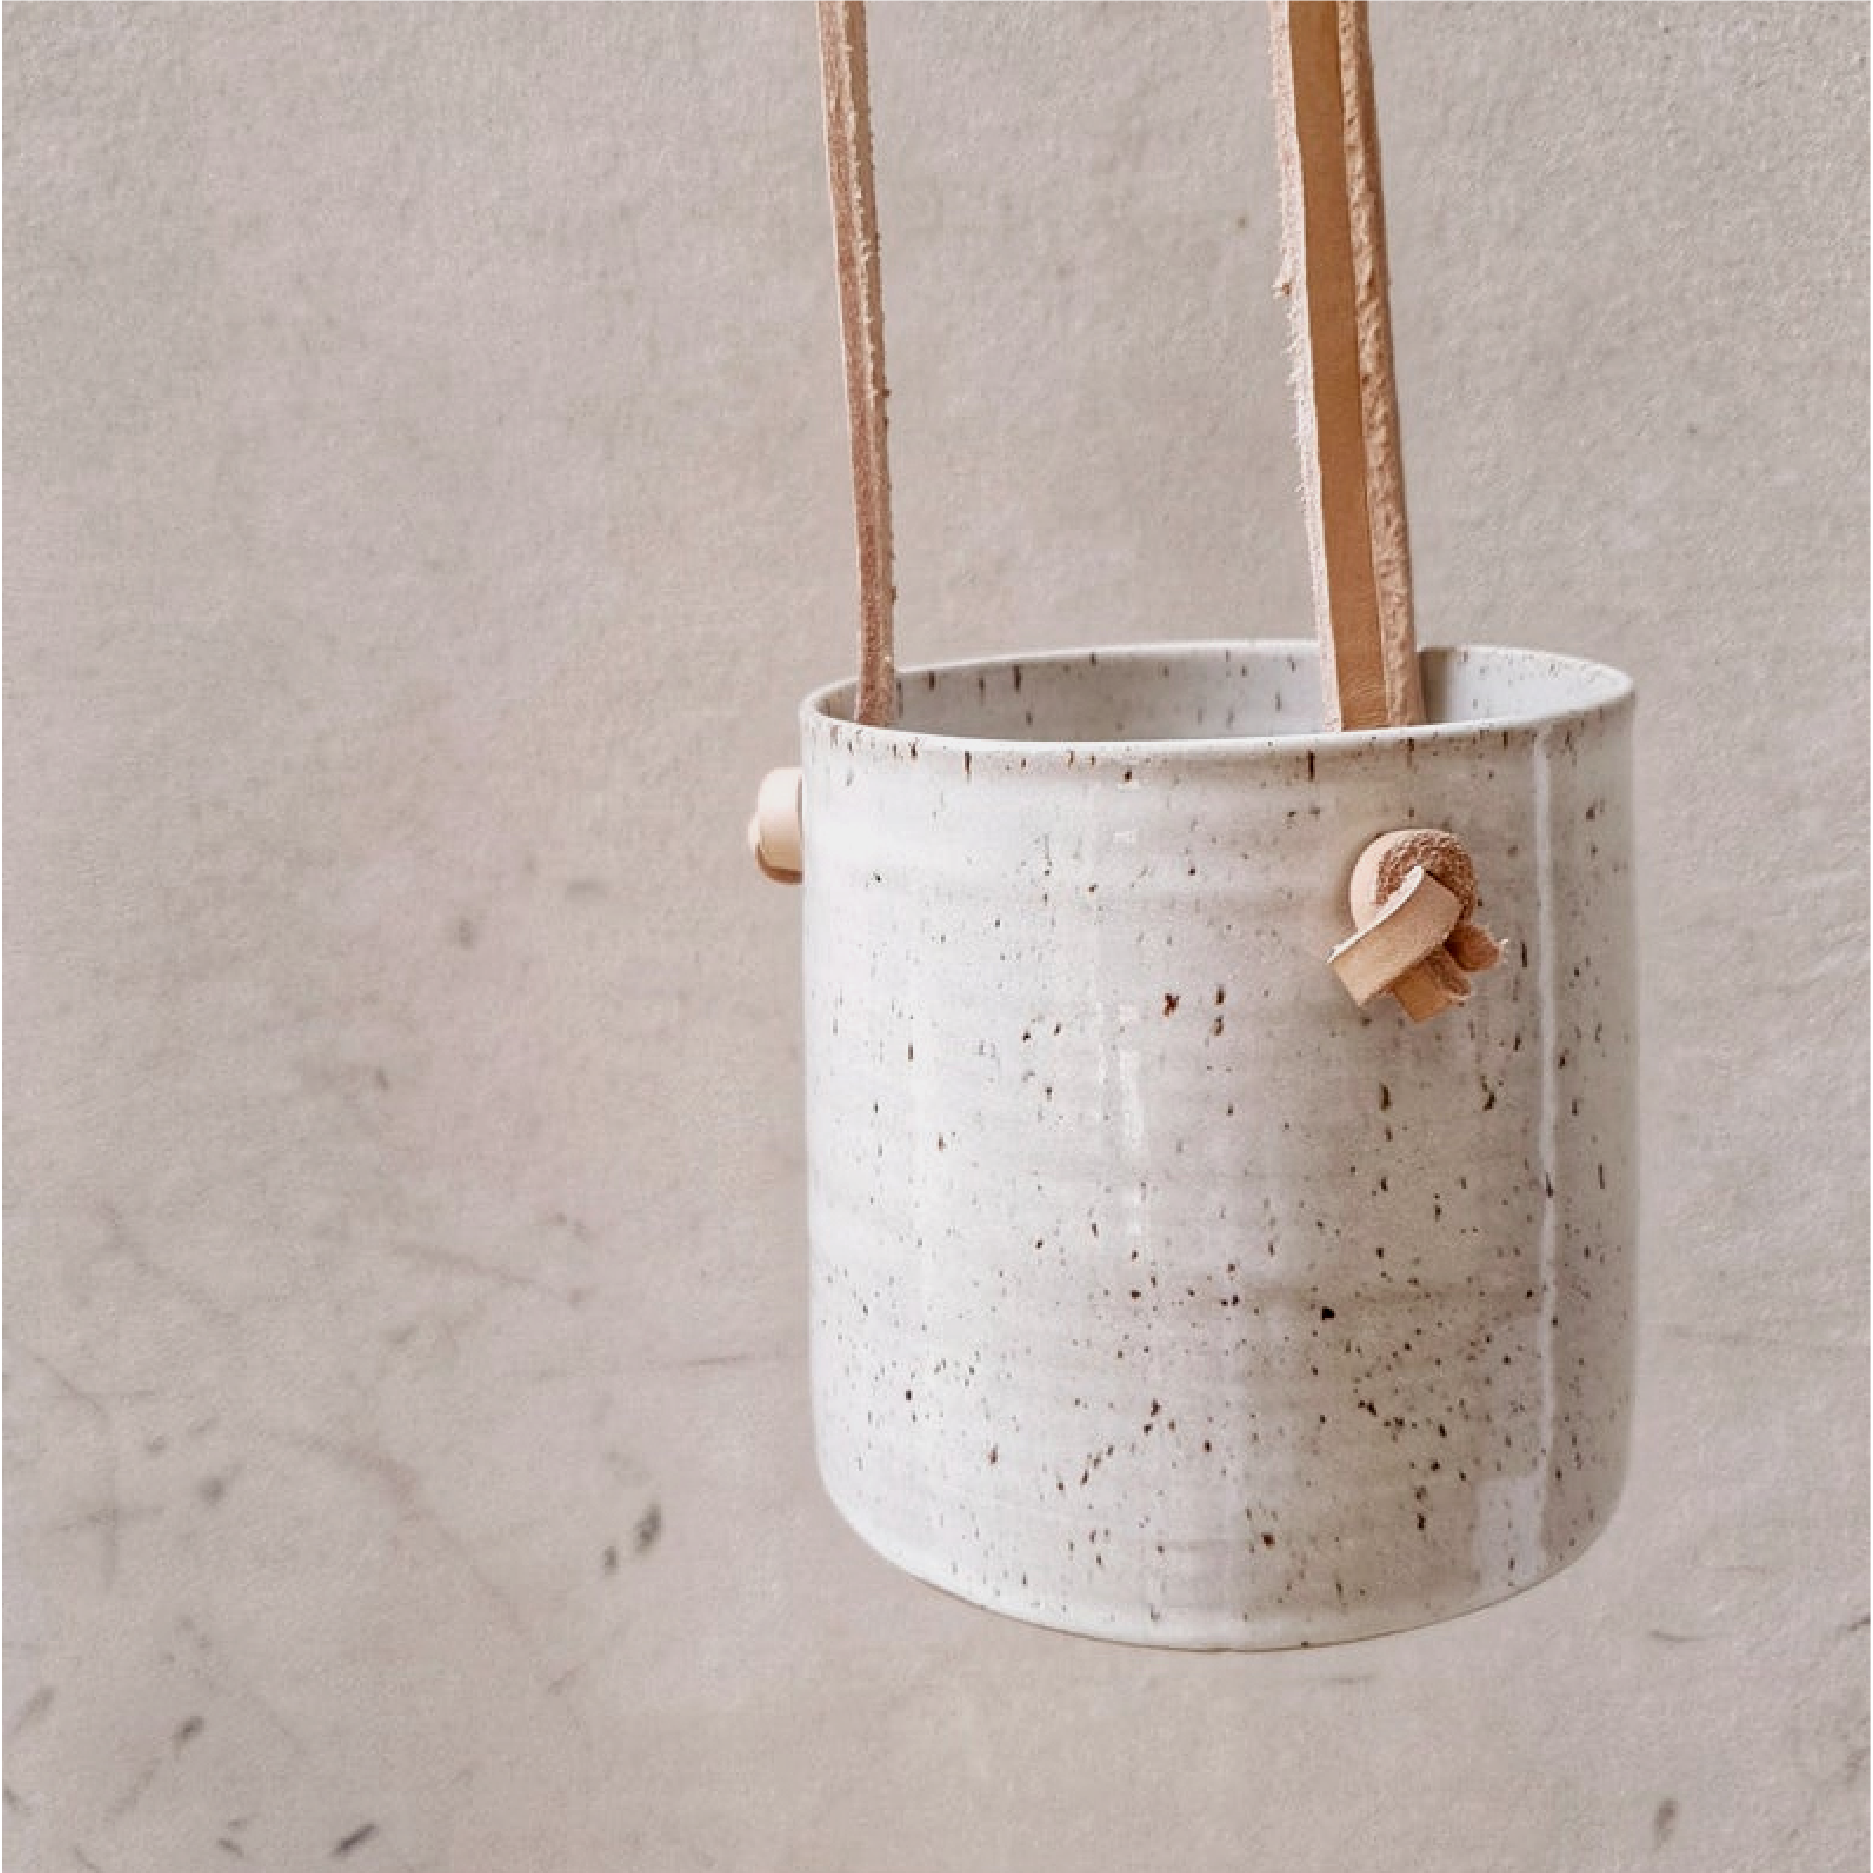
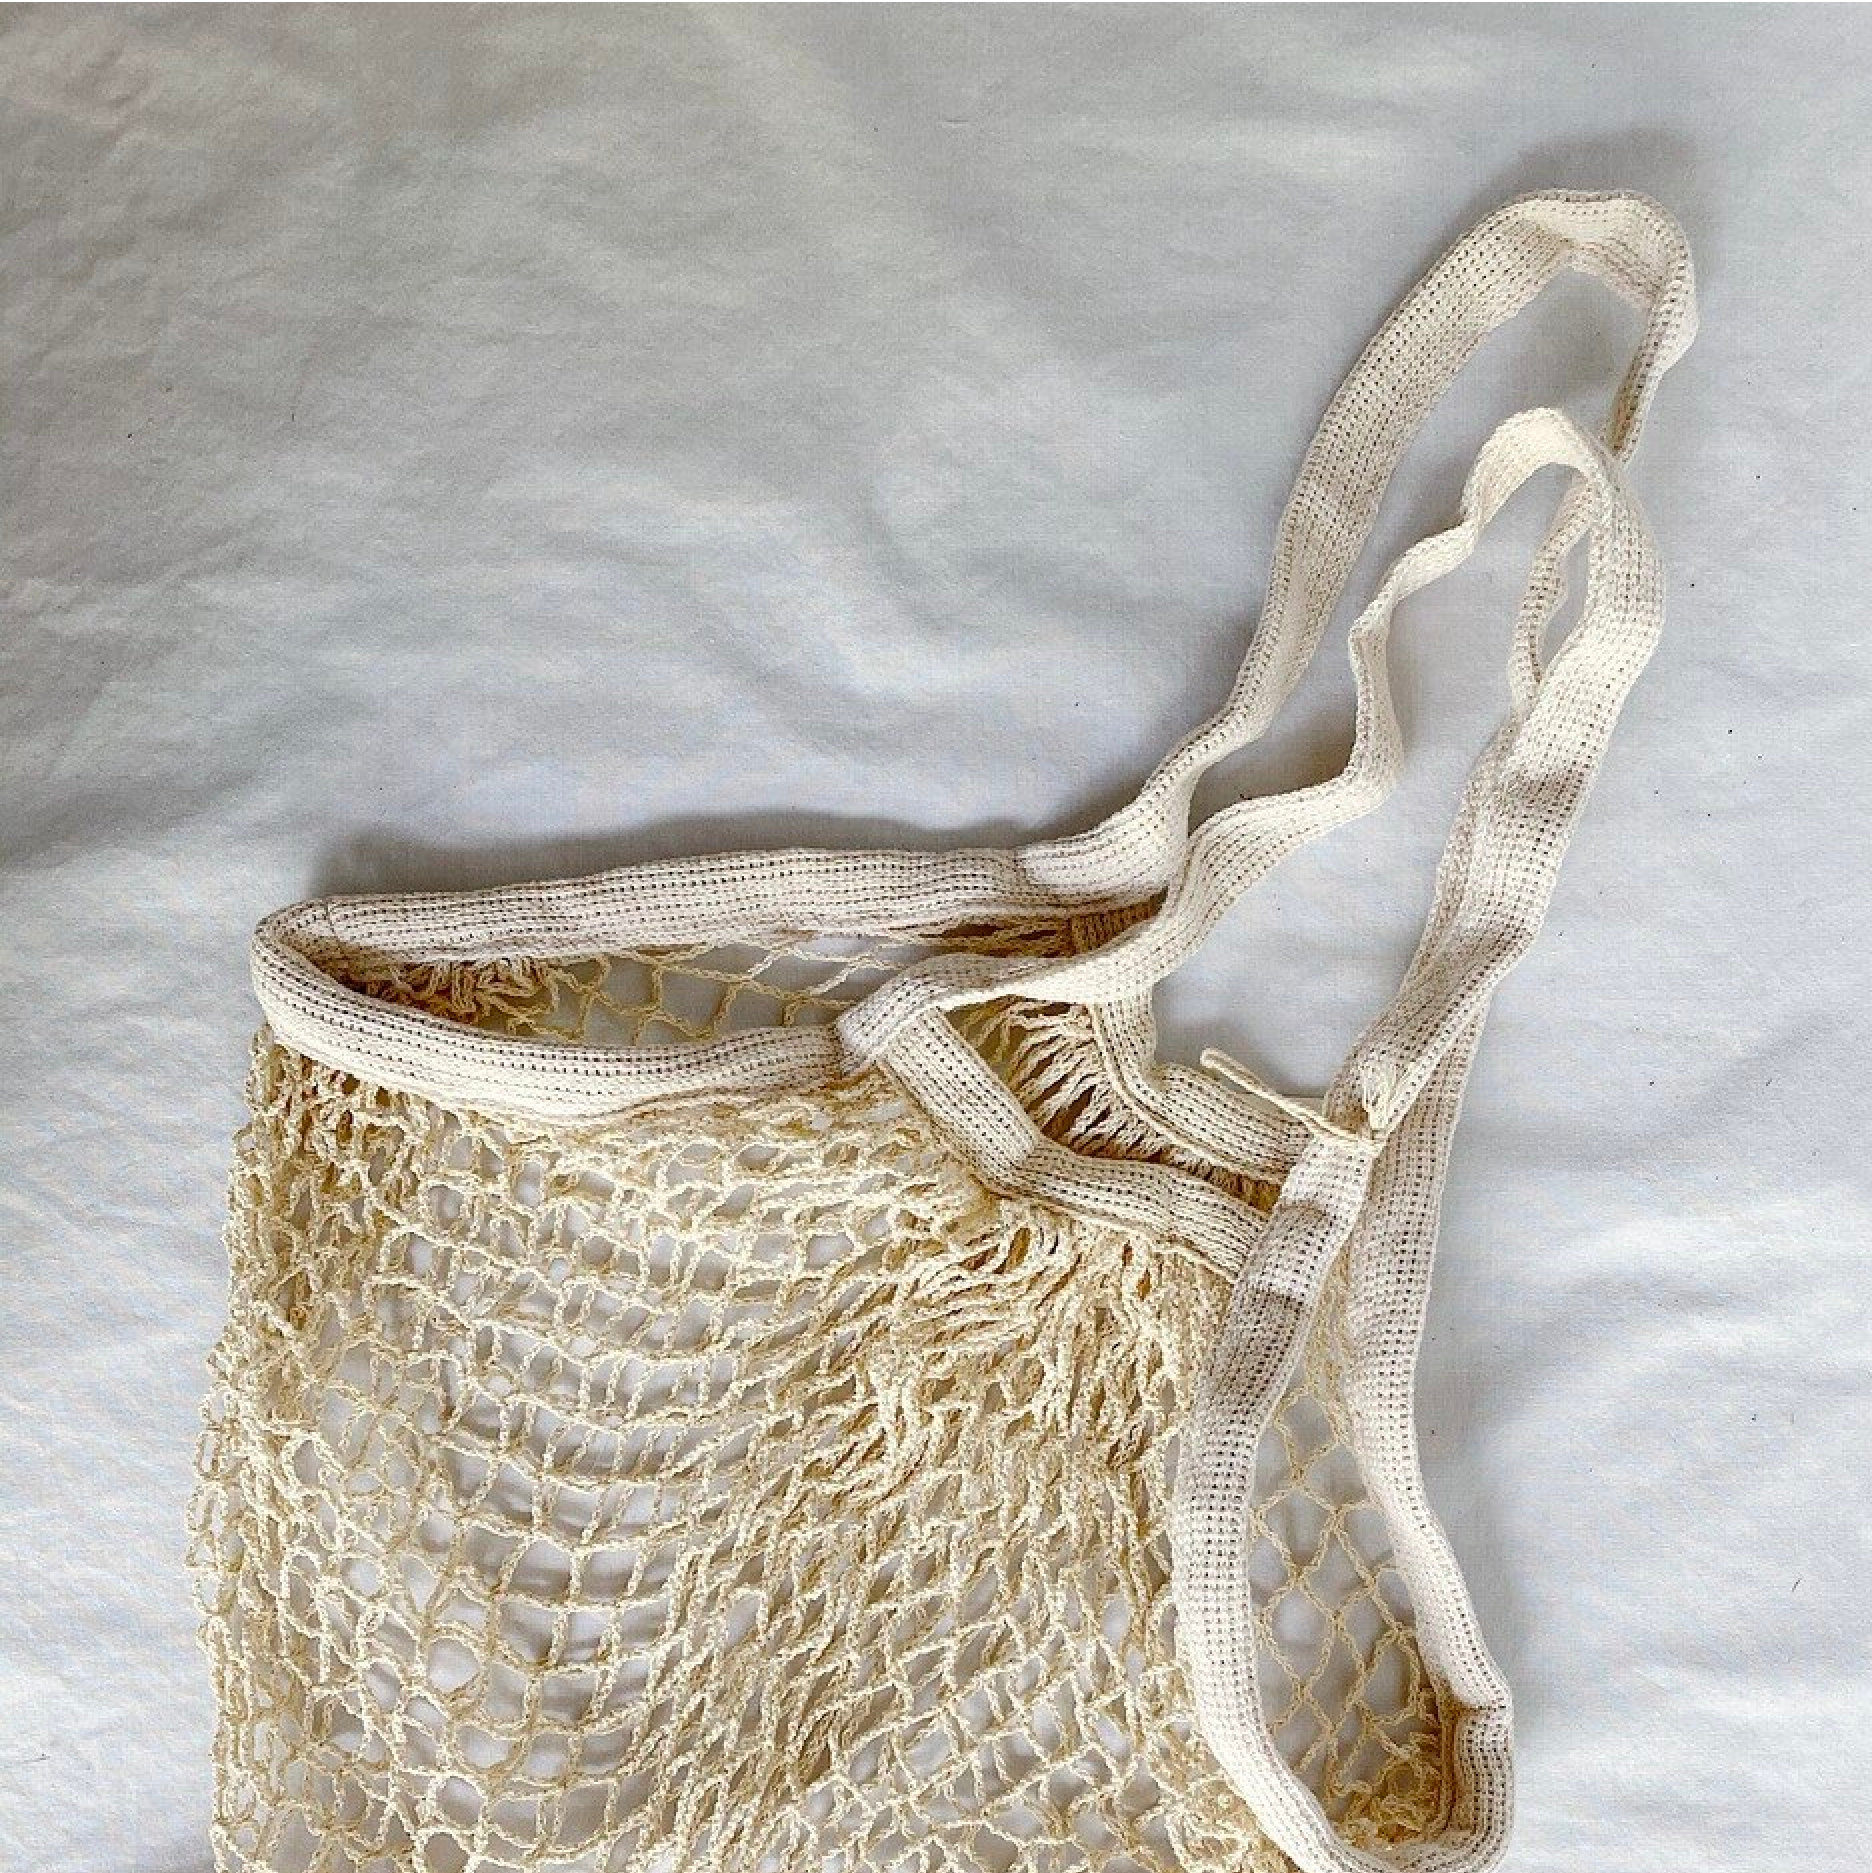
We first picked up a string bag and the softest duster you’ve ever felt from The Someday Shop (they have such a good selection of household items!). We already had a few towel options but thought a new amber-colored waffle knit robe would look great against the green. We also ordered this hanging planter from Etsy and a few other items to round out the list. Lastly, we got this great little piece of art from Janet Hill Studio and grabbed a vintage brass frame from the West End Antique Mall here in Richmond (one of our fave spots).
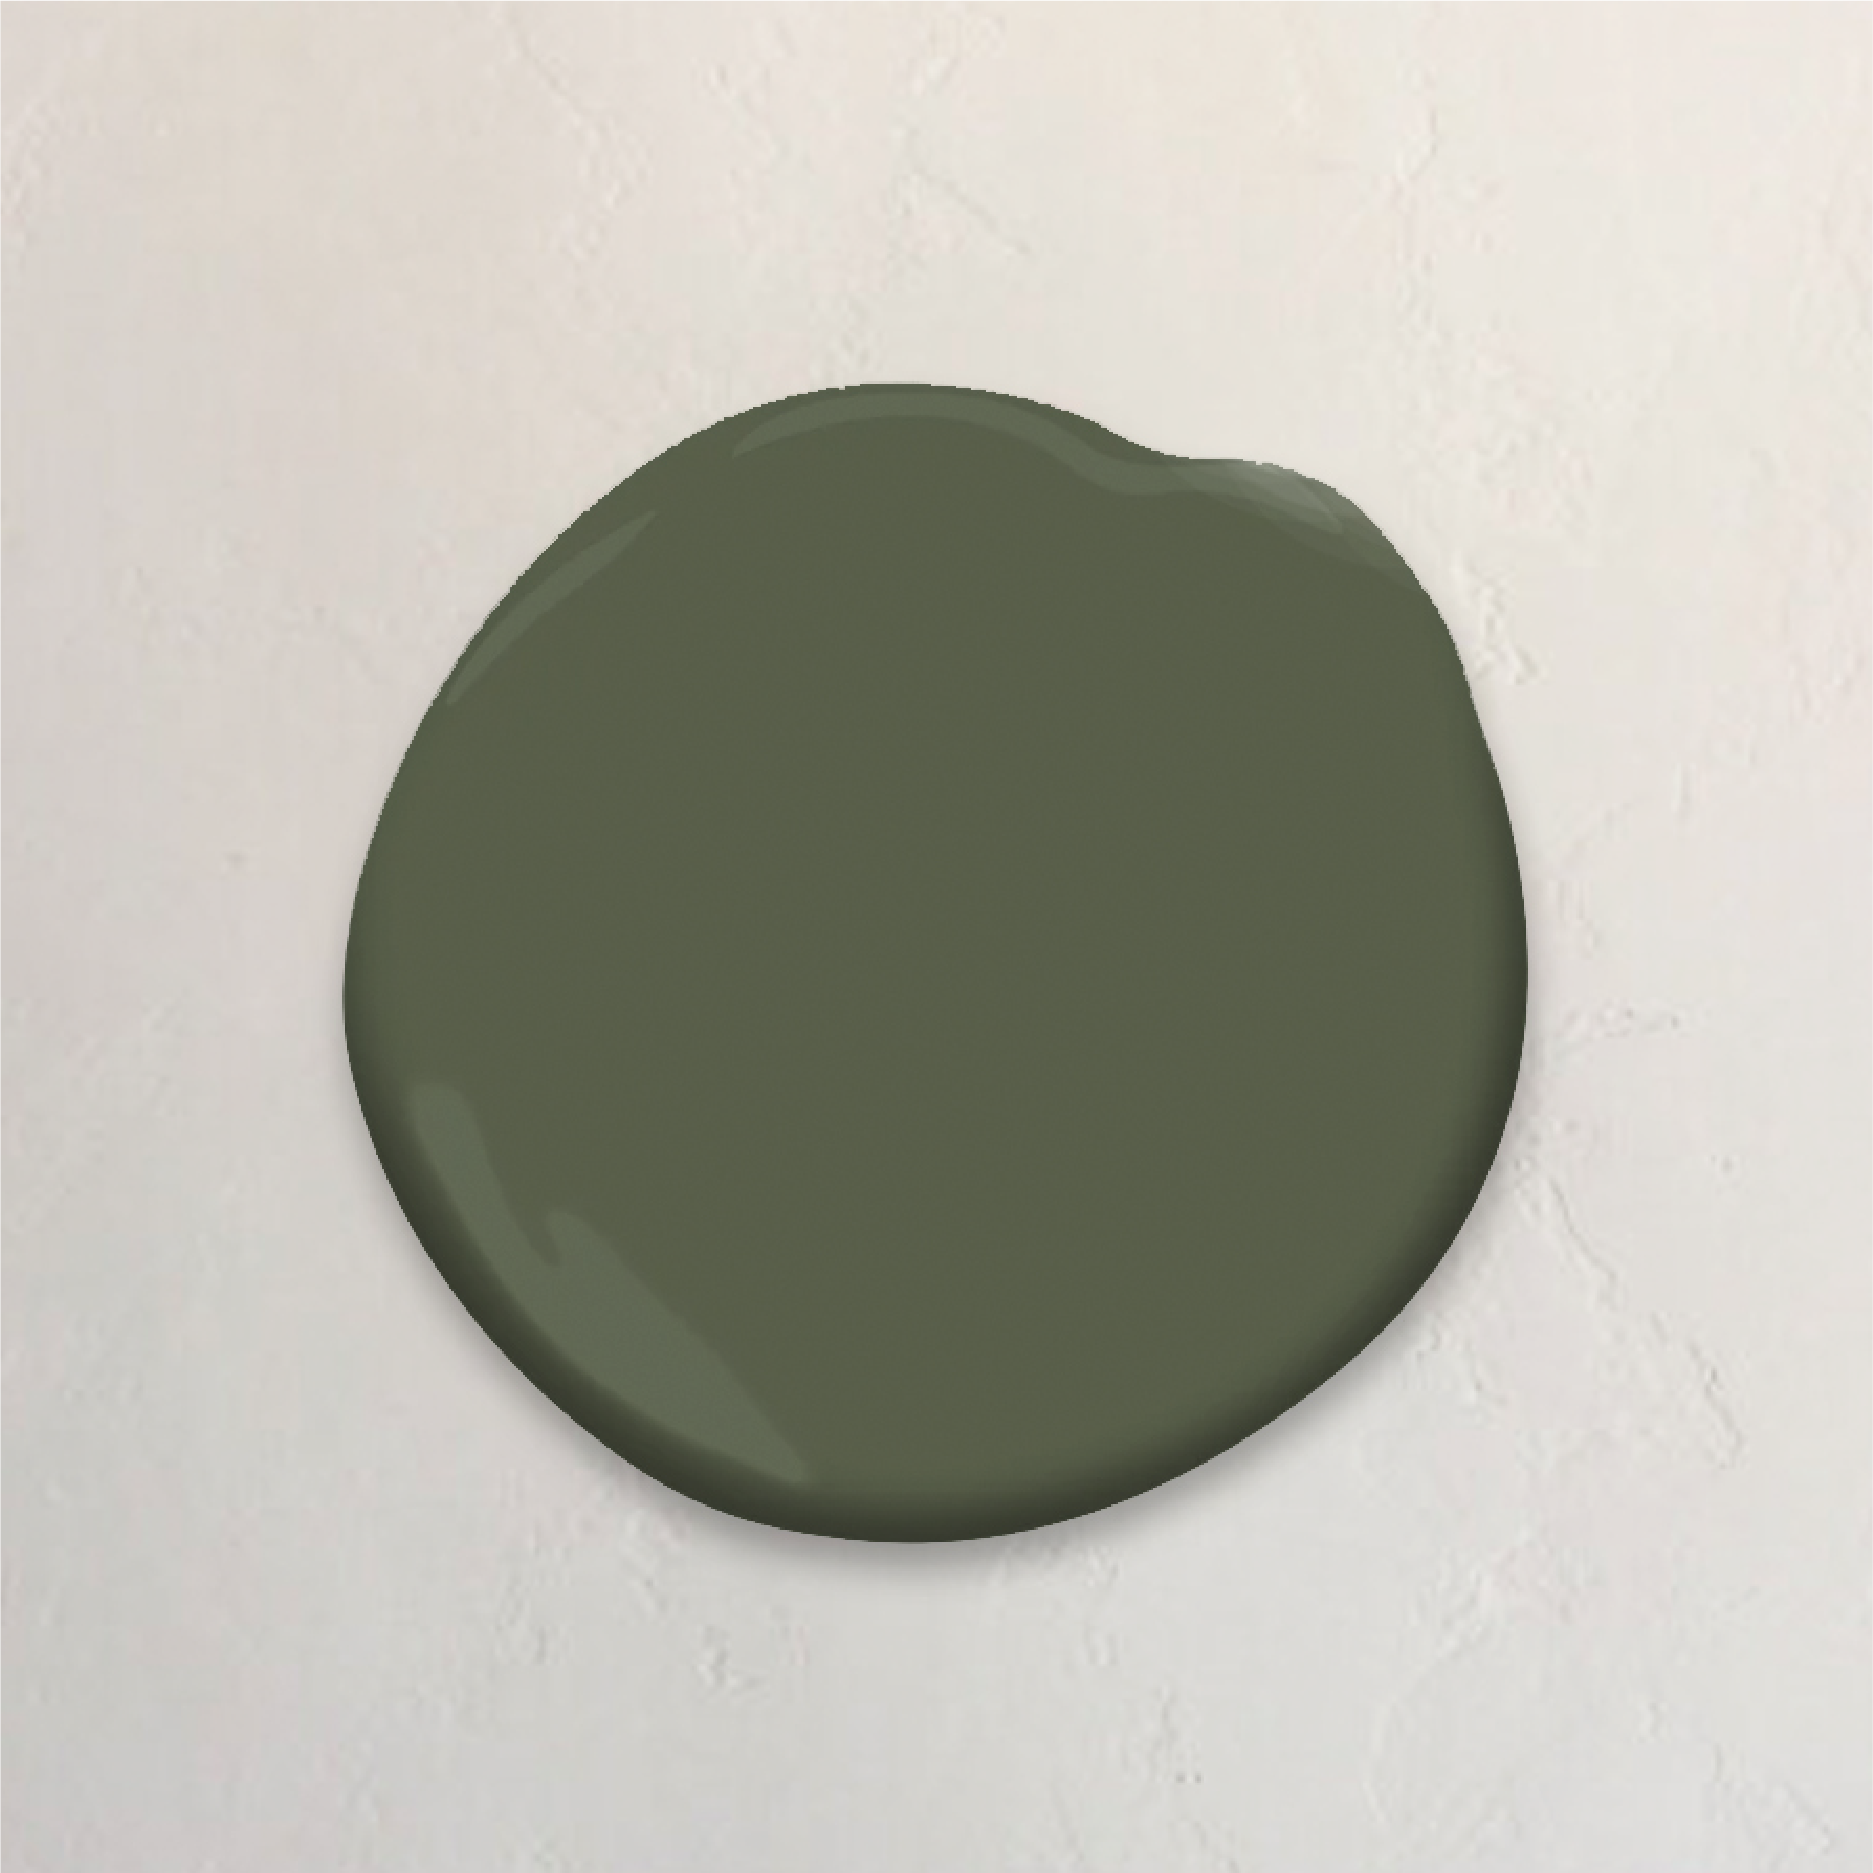
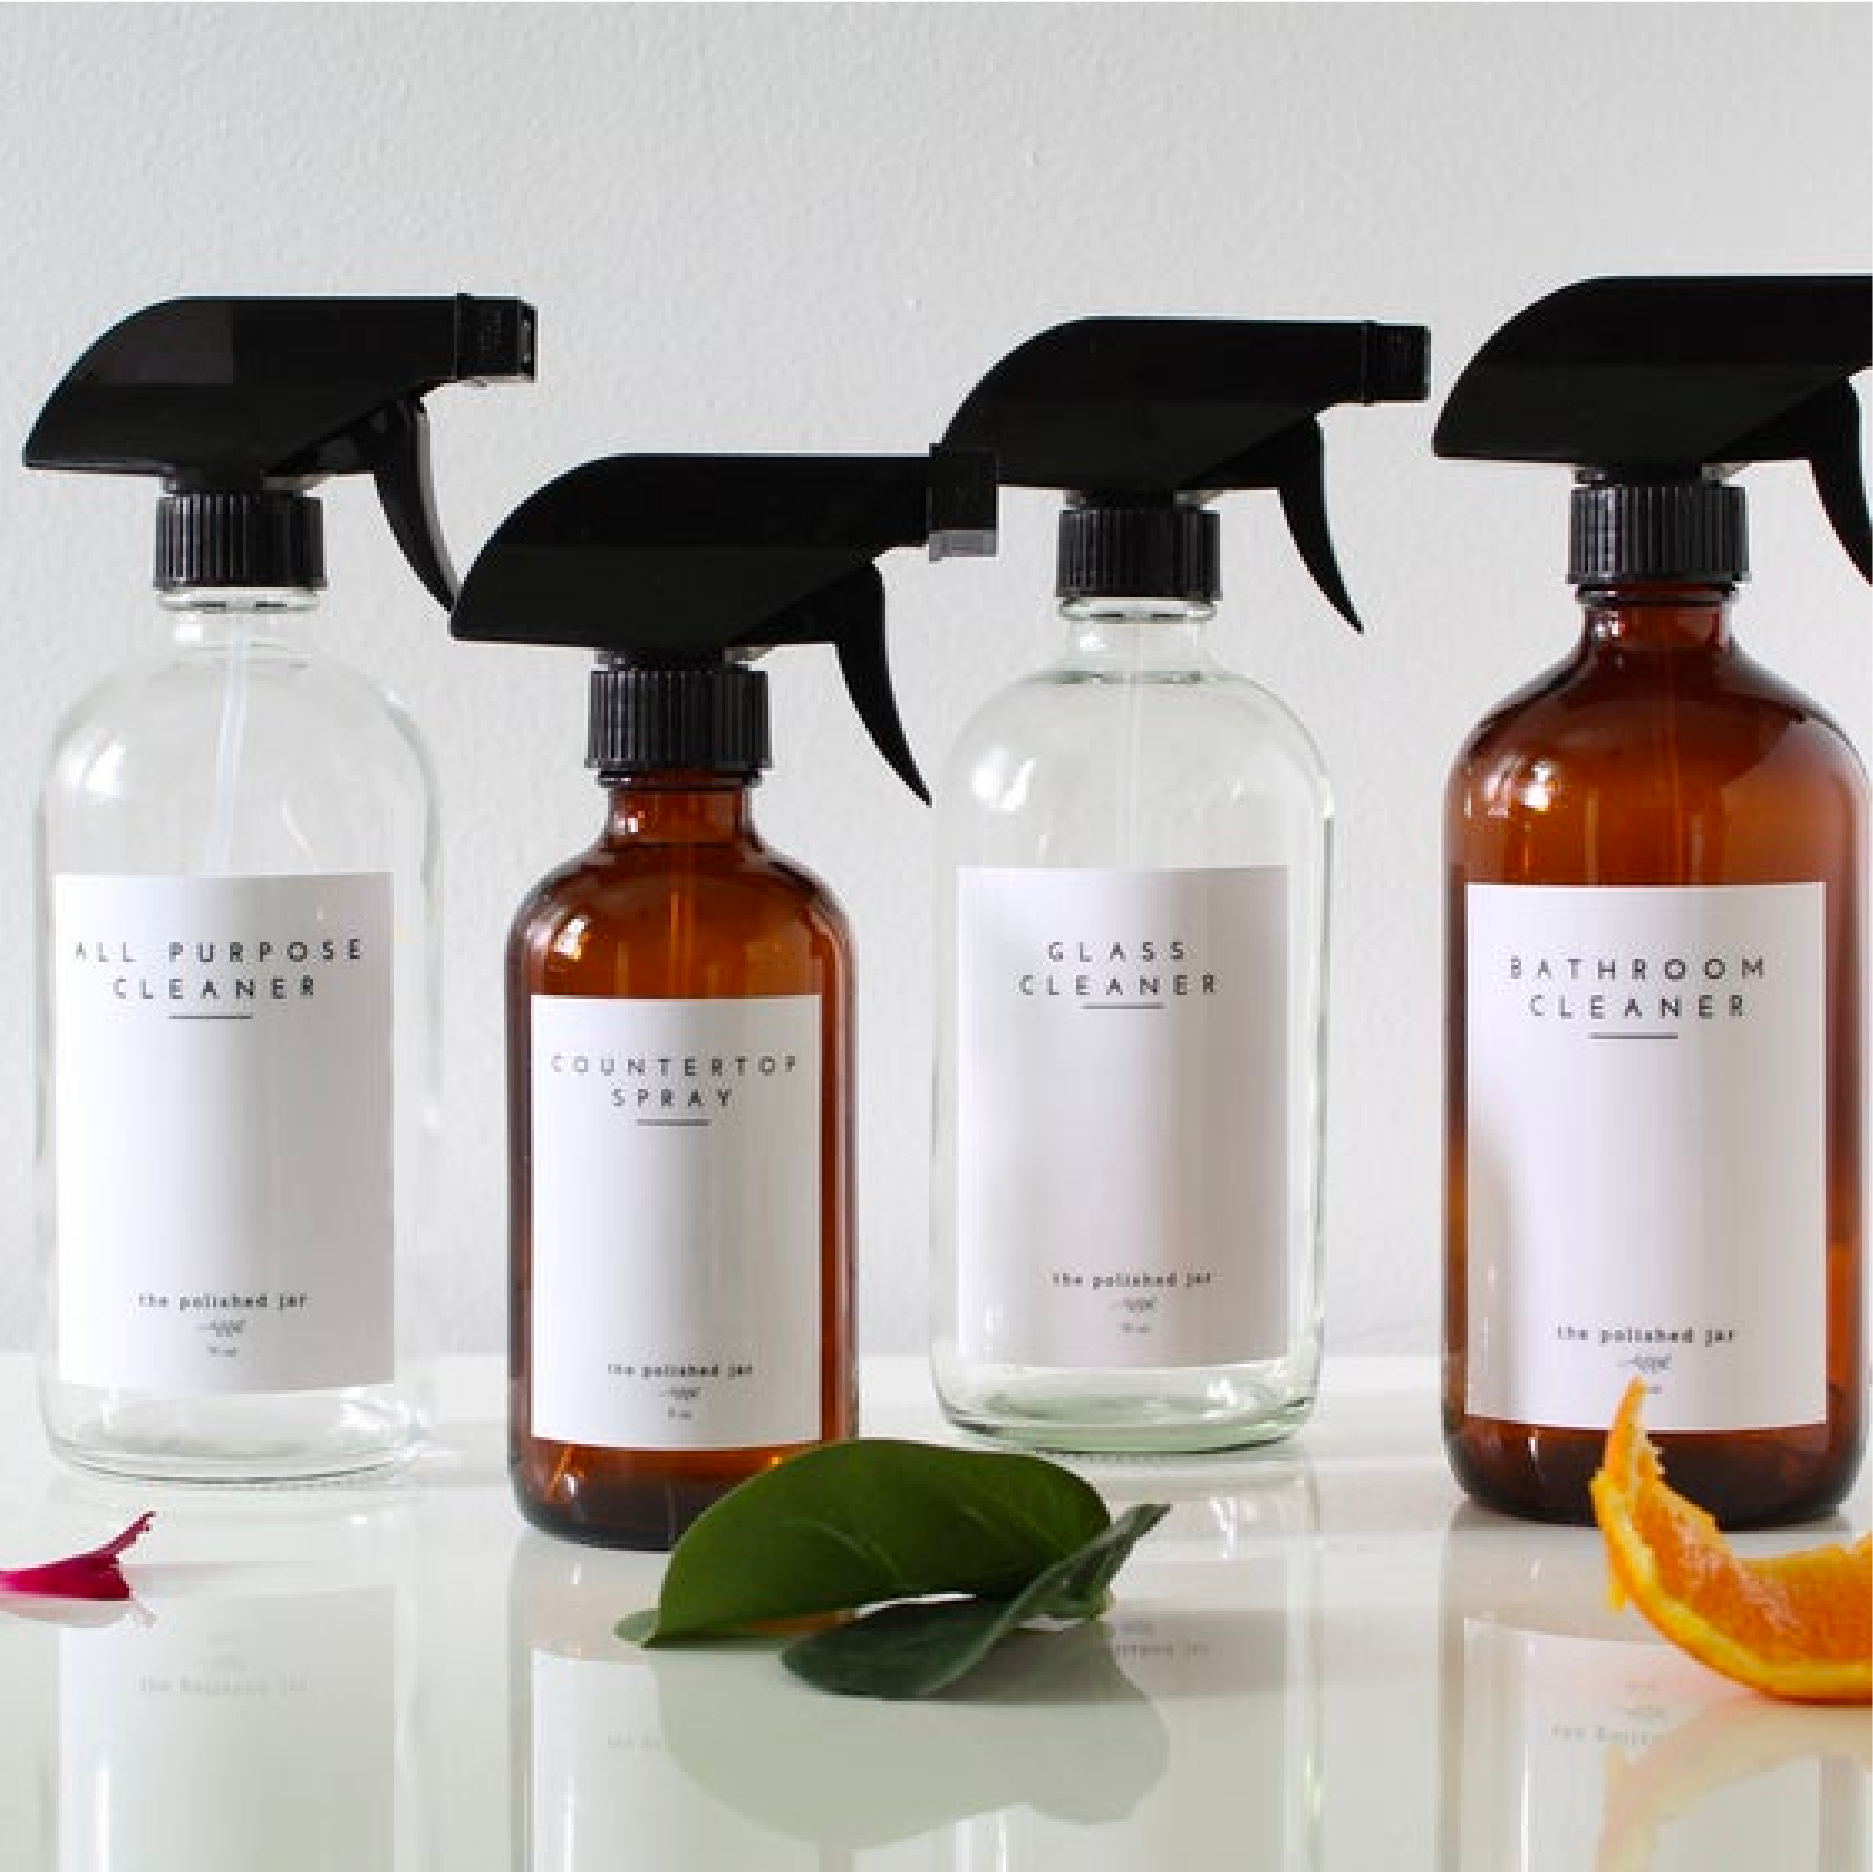
1. Sherwin Williams SW2816 Rookwood Dark Green | 2. White goat duster | 3. Janet Hill Portrait | 4. Glass Spray Bottle | 5. Fouta Strip Towel | 6. Shaker Peg | 7. Cotton Robe | 8. Hanging Ceramic Planter | 9. String Bag
We love how much more lived in and cozy this corner of the bathroom now feels. We also FINALLY have a place to hang a towel, closer to the shower (it was quite the reach to the robe hook on the door before). We can’t decide which styling object we like the most. Do you all have a favorite? We’d also love to hear about some of the ways you like to add personality and function to a space. Be sure to let us know in the comments!


